We took Pierscen sledding at the park for the first time in almost a year. He LOVED it! I think we each went down with him once and then he wanted to do it all on his own.


I loved how brave and independent he was. He'd reach the bottom of the hill, roll out, grab the sled and start marching back up.

Eventually we decided it was time to go. (P just wanted to go down the snow covered slides). Someone was NOT happy about leaving. Haha. At least he had a great time.


Always bit by the improvement bug, I decided to try out a new accent wall color for the front room/piano room. I wasn't ready to commit, so I just bought a sample. (The wall behind the piano is still green.) It was really hard to get a feel for how the room would look with the green still surrounding it.

So I started priming all the other walls white. I'm not sure what color I would go with for the other walls. Maybe an off white or something. Or tan. Thoughts?


Priming the surrounding walls made a big difference. I was having a hard time imagining the blue while it was still surrounded by green, but it looks pretty nice with the white next to it. Anyway, it's been 5 months and I haven't really committed yet. It definitely grew on me after I primed the other walls.

Our other major project was our master bed and bath. The walls were all cracked in the bathroom. We looked around and Ryan finally found that the situation is called "alligatoring" because it looks like alligator skin. The only way to get rid of this is to sand, prime, skim coat, prime again, and then paint. Long, difficult process. We sanded down the walls and then turned our attention to the ceiling in the bath and bedroom.


The first thing we needed to do was figure out how to get the ceiling fan wiring inside the ceiling.


It took some ingenuity, but after cutting several holes in the ceiling, Ry was able to bore holes through the rafters to snake the wiring through on the inside.

Below you can see the beginning process of removing the popcorn ceiling. So much fun! ;)


Pierscen was anxious to help, so we stripped him down and allowed him to pose for a few pictures while we worked on re-texturing the ceiling.


At long last, the new texture was up, the ceiling fan was down, and the wiring was all inside. I love having a handy husband!


Below is the new fan (brushed nickle instead of gold and a more updated look). It is beautiful!

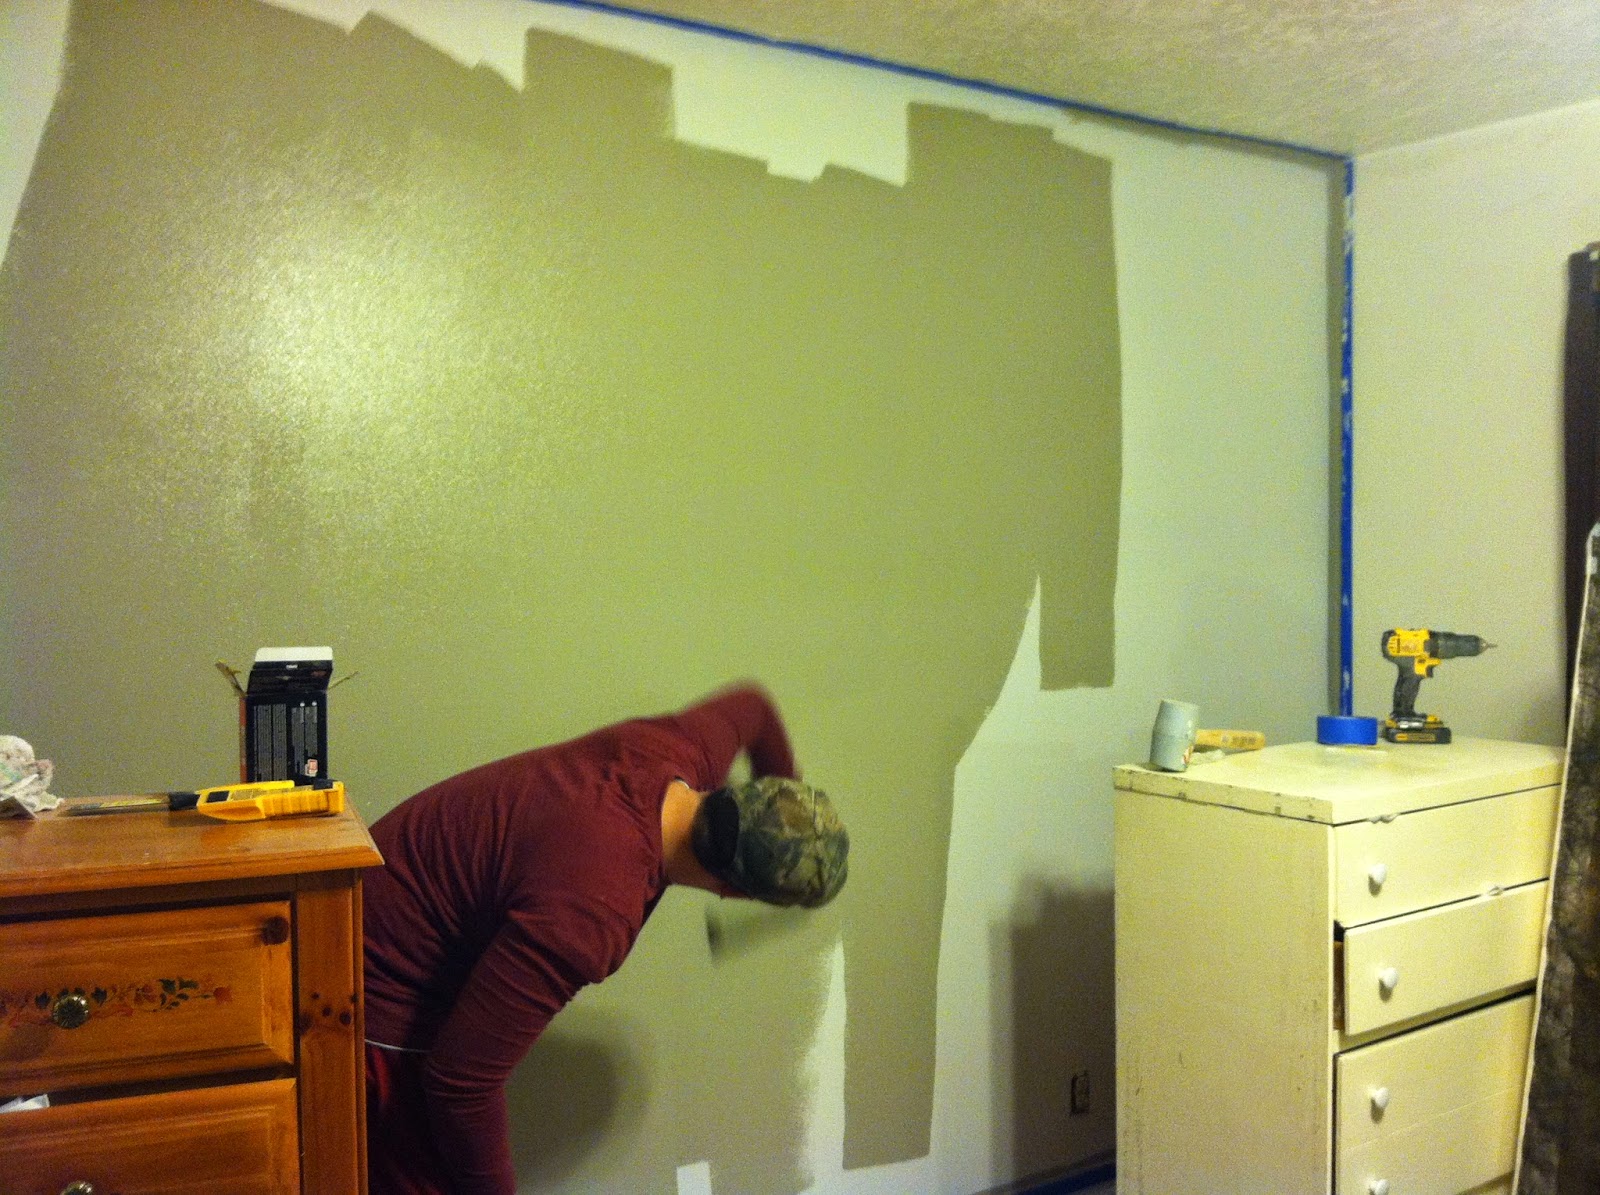
Notice the wall in the background? That's the accent wall behind the bed. Ryan was all gung-ho about painting it a different color since we were already up to our eyeballs in paint anyway. I was dragging my feet just because I wanted to do things in phases.


Well, the weekend before we were getting ready to move everything back in, I decided that yes, I wanted it painted. I found some samples, narrowed it down and let Ryan pick. Now I just have to say - the paint is actually GRAY. I think it was called Dorian Gray. But for the life of me, every picture I took made it look tan. It's not. I know our bedding is brown, but it actually looks really good with it. So if you really don't believe me on the color, you'll just have to come visit. :)


Anyway, the color turned out totally gorgeous and we love it! I am sure Ryan would have preferred that I not decide to do it last minute, but that's okay. At least it got done. Haha. Some day down the road, we will replace the counter top/sinks in the bedroom and the carpet and it will be a whole new master suite!

Now, I do not have a picture of the bathroom... but let me just say this: skim coating is a pain in the rear! It is such a hard process! First of all, sanding existing paint just doesn't work very well. We did what we could. Then we primed. I remembered reading that you could prime, then mud, then prime, or you could skip the initial priming. I do not remember why we decided to prime, but I am guessing the perks outweighed the extra time and product. I hope. Next, we took the mudding compound and watered it down a tiny bit. The idea is to then spread it over the whole wall in a nice smooth fashion. It sounds SO easy. And it is SO hard!!! Holy cow. Seriously. I don't ever recommend this. On the other hand - what are your options? Leave it cracked or replace the dry wall? Ugh. Just hope you don't have to. It took forever! Then we had to sand. And skim coat. And sand. And skim coat. And sand. We finally got it where we wanted and primed again. And then finally painted for real. I guess I could still add a picture of a plain white wall - cause that's what it looks like now. There are a few places where it didn't get sanded down quite well enough (I'll blame my impatience) but it looks SOOO much better than before. No more alligator scales. It's awesome! (And just so you know - it helps if you paint using the right kind of paint for a bathroom. I think that's why it fractured in the first place - not our doing! Wrong paint and high humidity = no bueno.) So now it is bright, white, and crack free. It's awesome. Another project checked off the list.
To end the month, we were able to attend the baptism of a cute girl, Adrianna, that I helped teach. Well, I went with the missionaries a few times anyway. Her step-mom was supposed to be baptized that day as well, but she had a few set backs. She is still working with the missionaries and going to church. It was a great experience and it was really awesome to be part of that process. I didn't serve a mission, so I have loved being able to go with the missionaries and help out.

It was a busy, and messy month, but it was good. Hurray for more projects under our belt!